Drying Herbs in an Apartment: No Dehydrator, No Mold
Basil, mint and lemon balm mold before they finish drying. Sort your herbs into dry, freeze or skip, then dry the rest in a humid kitchen with no dehydrator.
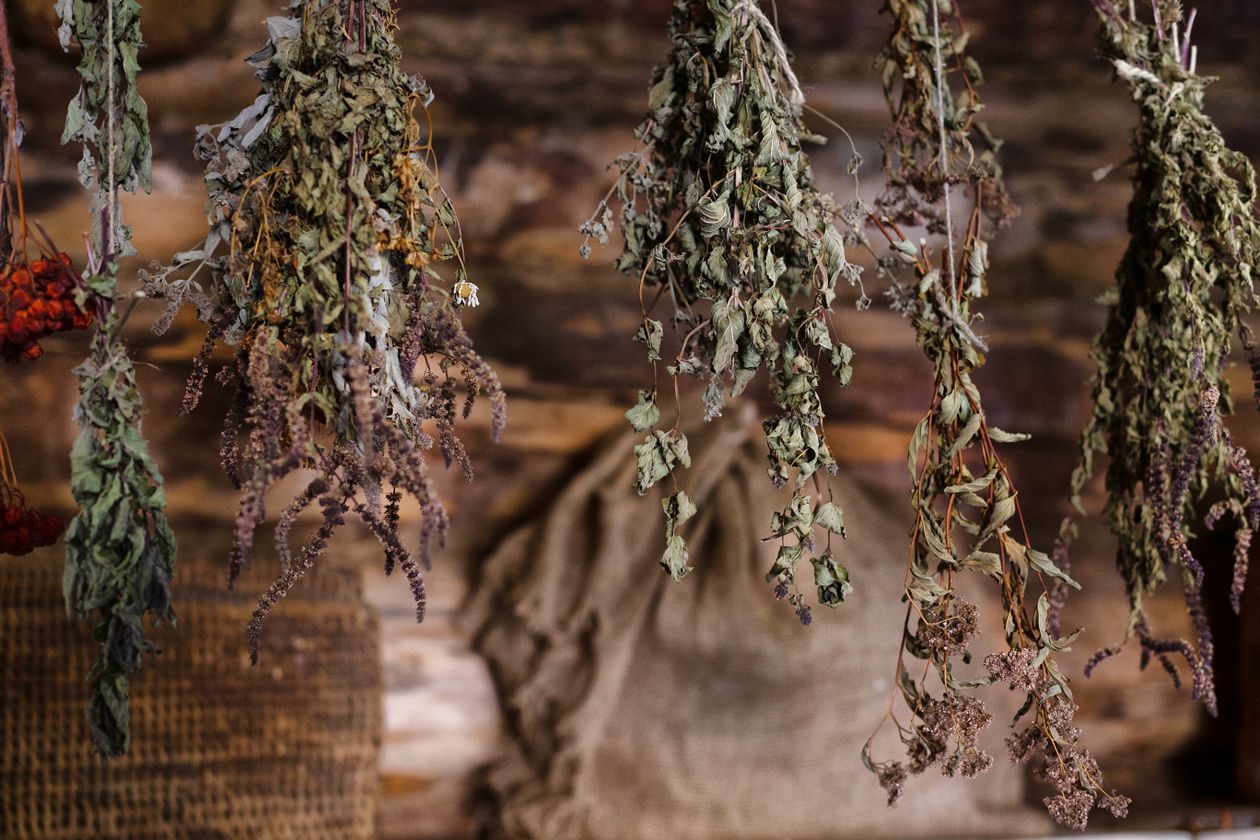
In this guide
Most people grow far more basil and mint than anything else, and those are the two herbs most likely to rot on the way to the jar. Almost nothing written about drying herbs mentions it.
Every guide assumes the same room: dark, dry, airy, out of the way. An apartment does not have that room. It has a kitchen, and a kitchen is built to do the opposite.
So the useful order is backwards from how it is usually taught. Sort the herbs first, then pick a method that fits the room you actually live in.
Some links in this article may be affiliate links. We earn a small commission if you purchase through them, at no extra cost to you.
The short version
- Rosemary, sage, thyme, summer savory and parsley air dry with no equipment at all (NCHFP).
- Basil, oregano, tarragon, lemon balm and the mints hold too much water and mold unless they dry fast.
- Keep tied bunches narrower than a quarter, and away from the sink, stove and dishwasher.
- In a genuinely humid flat, an oven that stays switched off will do the job overnight.
Which Herbs Dry Well, and Which Ones Just Mold?
Sturdy, low-moisture herbs air dry on a counter with no help. The National Center for Home Food Preservation splits the kitchen herbs into two groups, and that split predicts almost everything that follows. Tender-leaf herbs hold so much water in the leaf that they mold unless they dry quickly.
High moisture content just means the leaf is mostly water. A thick rosemary needle has very little to lose, so it gives it up slowly and safely. A basil leaf is soft and full, and it has to shed all of that before mold gets there first.
| Herbs | What to do | |
|---|---|---|
| Dries easily | Rosemary, sage, thyme, summer savory, parsley | Air dry anywhere with moving air |
| Molds easily | Basil, oregano, tarragon, lemon balm, the mints | Paper bag, off-oven, or freeze |
| Better frozen | Chives, cilantro, dill | Skip drying, go to the freezer |
The third row is our call rather than a rule from the sources. Chives, cilantro and dill are soft herbs that are not on anyone’s easy list, and cilantro in particular dries into something that tastes almost nothing like cilantro.
Basil catches people out for the opposite reason. It is the herb most worth growing basil indoors, and close to the worst candidate for air drying in a small flat.
Mint and lemon balm sit in the awkward middle. They are the herbs people grow in the largest quantity and they are on the mold-prone list, which is why they need the bag. If your plan is to blend them into a bedtime tea, this is the step that decides whether that works.
Why Does an Apartment Kitchen Ruin Air Drying?
Drying needs two things: low humidity and moving air. A kitchen produces high humidity and almost no air movement, which is the exact opposite. UC ANR Master Food Preservers name the culprits directly. Keep herbs away from a sink, stove or dishwasher, because all three raise the humidity of the air around them.
That is the concrete version of the advice everyone else gives as “somewhere dry”. The worst spot in a small flat is the counter beside the sink. The best is usually a bedroom, a hallway, or the top of a wardrobe.
Bunch size is the second thing people get wrong, and it is not a matter of convenience. University of Maine Extension puts a hard limit on it: the tied stems should be narrower than a quarter, or you risk mold forming. A fat bunch traps damp air in its own middle, where nothing circulates.
Split the harvest into several thin bunches instead of one generous one. It costs you nothing and it is the single easiest failure to avoid. The same applies to the trimmings you bring in from the herbs you cut back before frost, which usually arrive all at once.
How Do You Dry Herbs With No Dehydrator?
A paper bag handles the mold-prone herbs, and a switched-off oven handles a flat that is humid no matter where you put things. Neither costs anything. The bag method comes straight from NCHFP: holes torn in the sides, a small bunch inside, rubber band at the top.
- Rinse and dry the herbs. Cool running water, then shake them out and pat them with a paper towel. Water sitting between the leaves is the head start mold needs.
- Tie a small bunch. Stems together, narrower than a quarter, rubber band or string. The band is the better choice because it keeps its grip as the stems shrink.
- Tear holes in a paper bag. In the sides, not the bottom. The holes are the airflow, and a bag without them is just a damp pocket.
- Hang the bunch inside, leaves down. Close the top around the stems with the rubber band. The bag keeps light off the leaves and catches anything that drops.
- Put it somewhere with moving air. Not the kitchen. Check it after a week; most herbs finish somewhere in the five to ten day range.
If the room is still rather than humid, a small clip-on fan pointed past the bags fixes the actual problem for a few dollars. For the sturdy herbs, which do not need a bag at all, a mesh herb drying rack holds far more than a counter and keeps the layers separated.
What If Your Flat Is Too Humid for a Paper Bag?
Then use an oven that stays switched off. It is the best trick in the extension literature for this exact problem, and almost nothing written for home growers mentions it before telling you to buy a dehydrator.
UC ANR recommends putting the prepared herbs into an oven that is turned off. The interior light of an electric oven, or the pilot of a gas range, gives off enough warmth to dry them overnight. The closed door shuts out the humidity of the room, which is the whole point.
Running the oven properly is the fallback, not the plan. Keep it at 180 F or below, per UF/IFAS Gardening Solutions. Heat is expensive in flavor terms. A 2022 study in Foods measured basil’s oil before and after drying and found eugenol, the compound behind its clove-like warmth, fell from 8.1% of the oil when fresh to 0.5% once dried. A microwave works for very small amounts, in 30 second bursts, until the leaves are crisp but not scorched.
When Should You Freeze the Herb Instead?
Freezing is the right answer whenever the herb is soft and headed for a cooked dish. It skips the mold risk completely, which makes it the safer bet in a humid flat. UF/IFAS gives the method: spread the leaves in a single layer on a tray, freeze them, then move them into airtight bags.
The single layer matters. Herbs bagged straight from the board freeze into one solid brick, and you spend all winter snapping pieces off it.
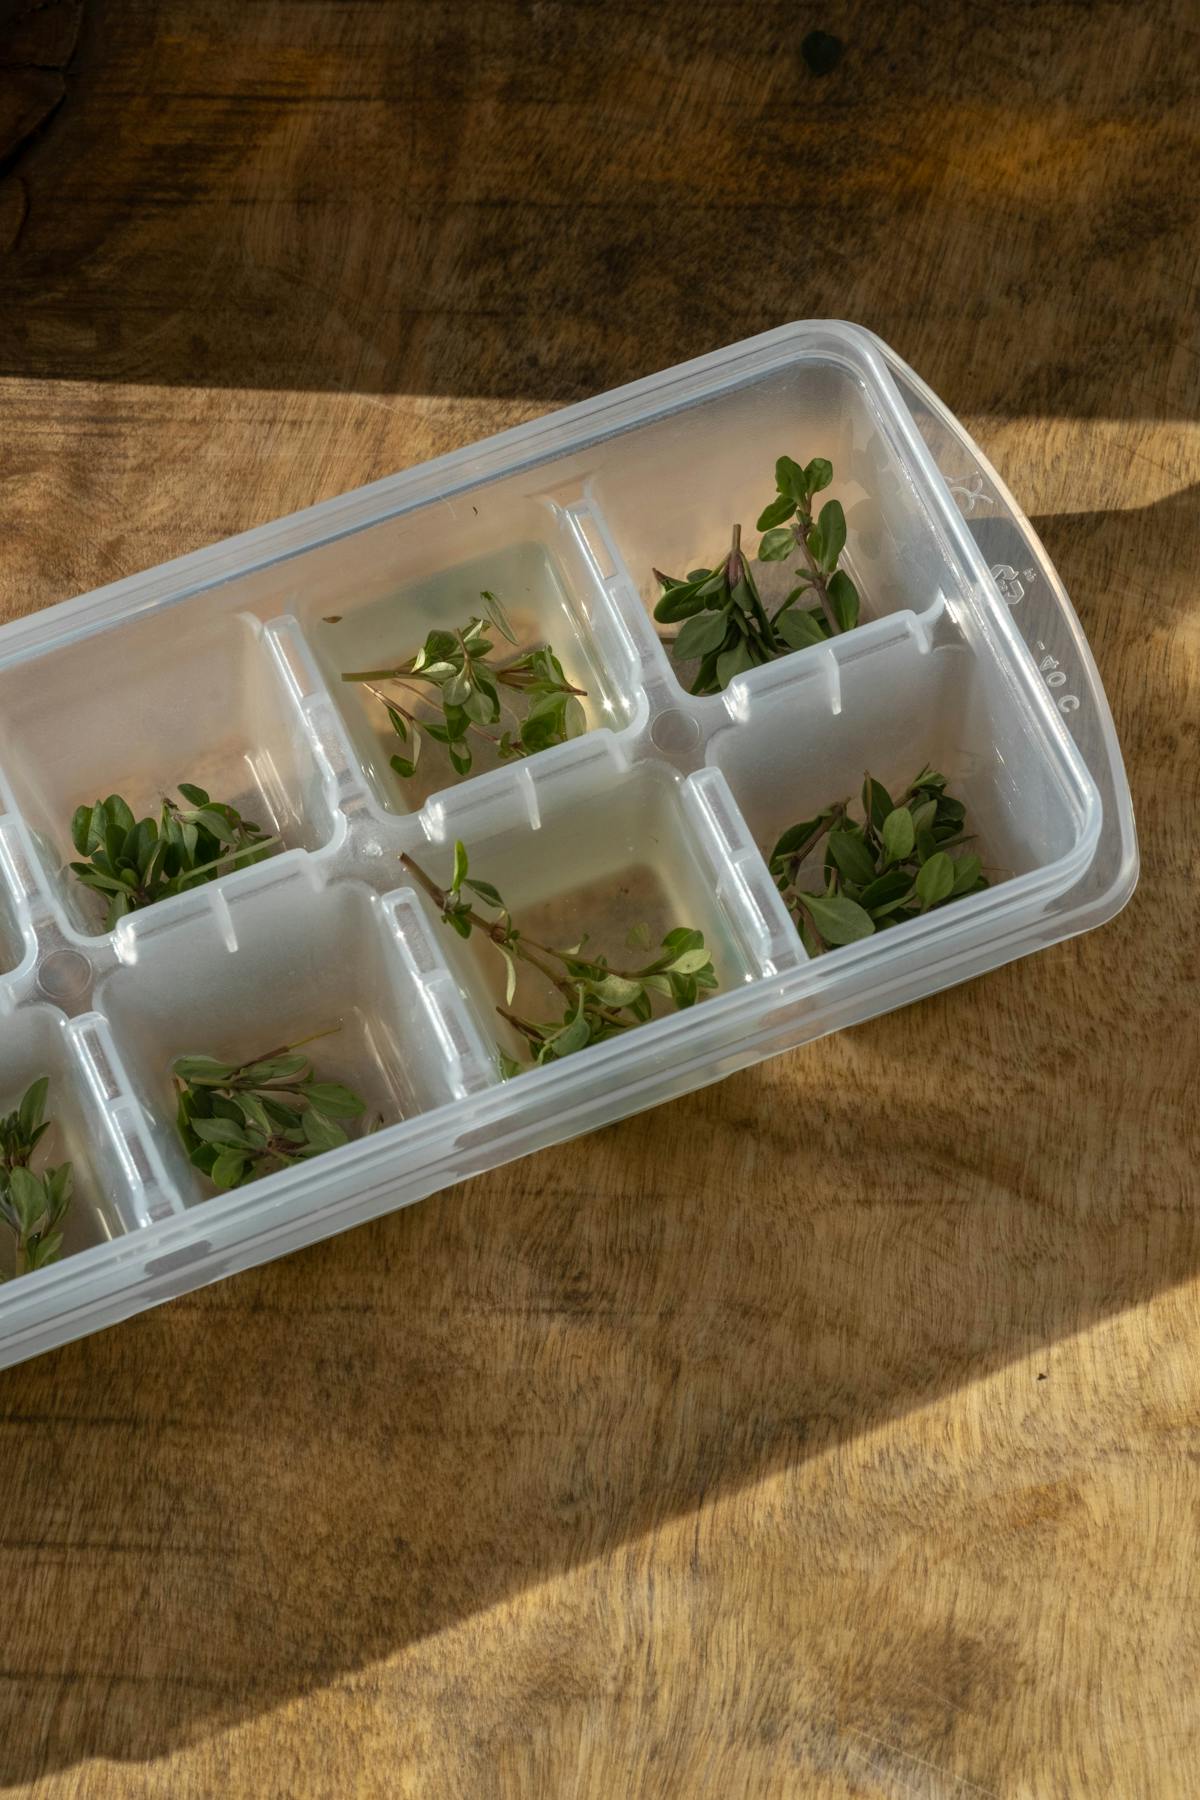
A silicone ice cube tray does the same job in portions, for anything going straight into a pan. Woody-stemmed herbs like dill, sage, rosemary and thyme freeze best left on the stalk, then stripped while still frozen.
Now the honest trade. Frozen herbs go limp when thawed, because ice crystals rupture the cell walls and the structure collapses as it warms. Stored airtight, they stay good for about six months.
So they are useless as a garnish and perfectly good in anything cooked. If you have more basil than you can use, turn the basil into pesto first and freeze that instead.
What Usually Goes Wrong the First Time?
Nearly every failure traces back to one of five things, and four of them happen before the herbs ever start drying. Mold is the usual ending, and it is not recoverable. Colorado State Extension is blunt about it: decay and mold may affect every piece being dried, not only the part you can see.
The five ways this goes wrong
- The bunch was too thick. Narrower than a quarter, always. The middle is where it rots.
- The bag had no holes. Without them the bag holds moisture in instead of letting it out.
- It dried in the kitchen. Next to the sink or the stove is the worst place in the flat.
- The oven ran too hot. Above 180 F you are cooking the herb, not drying it.
- It went into the jar a day early. Any softness left in a leaf will find the rest of the jar.
So if you open the bag and see fuzz, throw the whole bunch away. Do not pick out the good-looking leaves.
Which herbs should you never try to air dry?
Basil, oregano, tarragon, lemon balm and the mints. Extension guidance groups these as tender-leaf herbs, meaning they hold a lot of water in the leaf. They mold unless they dry fast, which is exactly what a still, humid kitchen prevents. Bag them or freeze them instead.
Can you dry herbs without a dehydrator?
Yes, and for most herbs you do not need one. Sturdy herbs like rosemary, sage and thyme dry on a counter with no equipment at all. Softer herbs go in a paper bag with holes torn in the sides, and a genuinely humid flat can use an oven that stays switched off.
How big should a bunch of drying herbs be?
Keep the tied stems narrower than a quarter. University of Maine Extension gives that as the limit, because a thicker bunch traps moisture in the middle where air never reaches. Two small bunches dry cleanly where one fat bunch molds in the core.
Do you wash herbs before drying them?
Yes. Rinse them in cool water, then shake them and pat them dry with a paper towel. The rinse removes soil and dust, but the drying-off step matters just as much. Water left sitting between bundled leaves is the head start mold needs.
Can you cut the moldy part off a bunch of drying herbs?
No. Throw the whole bunch out. Colorado State Extension warns that decay and mold may affect every piece being dried, not only the part you can see. What is visible on the surface is the smallest part of the problem.
Start With the Sort
The decision that saves you the most trouble happens before anything is hung up.
- Sort first. Rosemary, sage, thyme, savory and parsley dry easily. Basil, oregano, tarragon, lemon balm and mint do not.
- Thin bunches, away from the kitchen. Narrower than a quarter, and nowhere near the sink or stove.
- Use the off-oven trick if the flat is humid. The light or the pilot is enough, overnight.
- Freeze the soft ones. They go limp, which only matters if you wanted a garnish.
Dried herbs are three to four times stronger than fresh, so use about a third of what a recipe asks for. And if the plant is still in its pot, cut it so it grows back before you take the whole thing at once.
Sources (6)
- National Center for Home Food Preservation (UGA), How Do I Dry Herbs, retrieved 2026-09-07, https://nchfp.uga.edu/how/dry/recipes/herbs/
- UC ANR Master Food Preservers of SLO and SB Counties, Preserving Herbs, retrieved 2026-09-07, https://ucanr.edu/blog/master-food-preserver-slo/sb-counties/article/preserving-herbs
- UF/IFAS Gardening Solutions, Preserving Herbs and Spices, retrieved 2026-09-07, https://gardeningsolutions.ifas.ufl.edu/plants/edibles/vegetables/preserving-herbs-and-spices/
- University of Maine Cooperative Extension, Preserve Herbs, retrieved 2026-09-07, https://extension.umaine.edu/food-health/2024/03/18/preserve-herbs/
- Colorado State University Extension PreserveSmart, Drying Herbs, retrieved 2026-09-07, https://apps.chhs.colostate.edu/preservesmart/produce/drying/herbs/
- Foods (2022), Postharvest Microwave Drying of Basil (Ocimum basilicum L.): The Influence of Treatments on the Quality of Dried Products, retrieved 2026-09-07, https://pmc.ncbi.nlm.nih.gov/articles/PMC8998133/


